Step-by-step guide · 6 steps · about 3 minutes
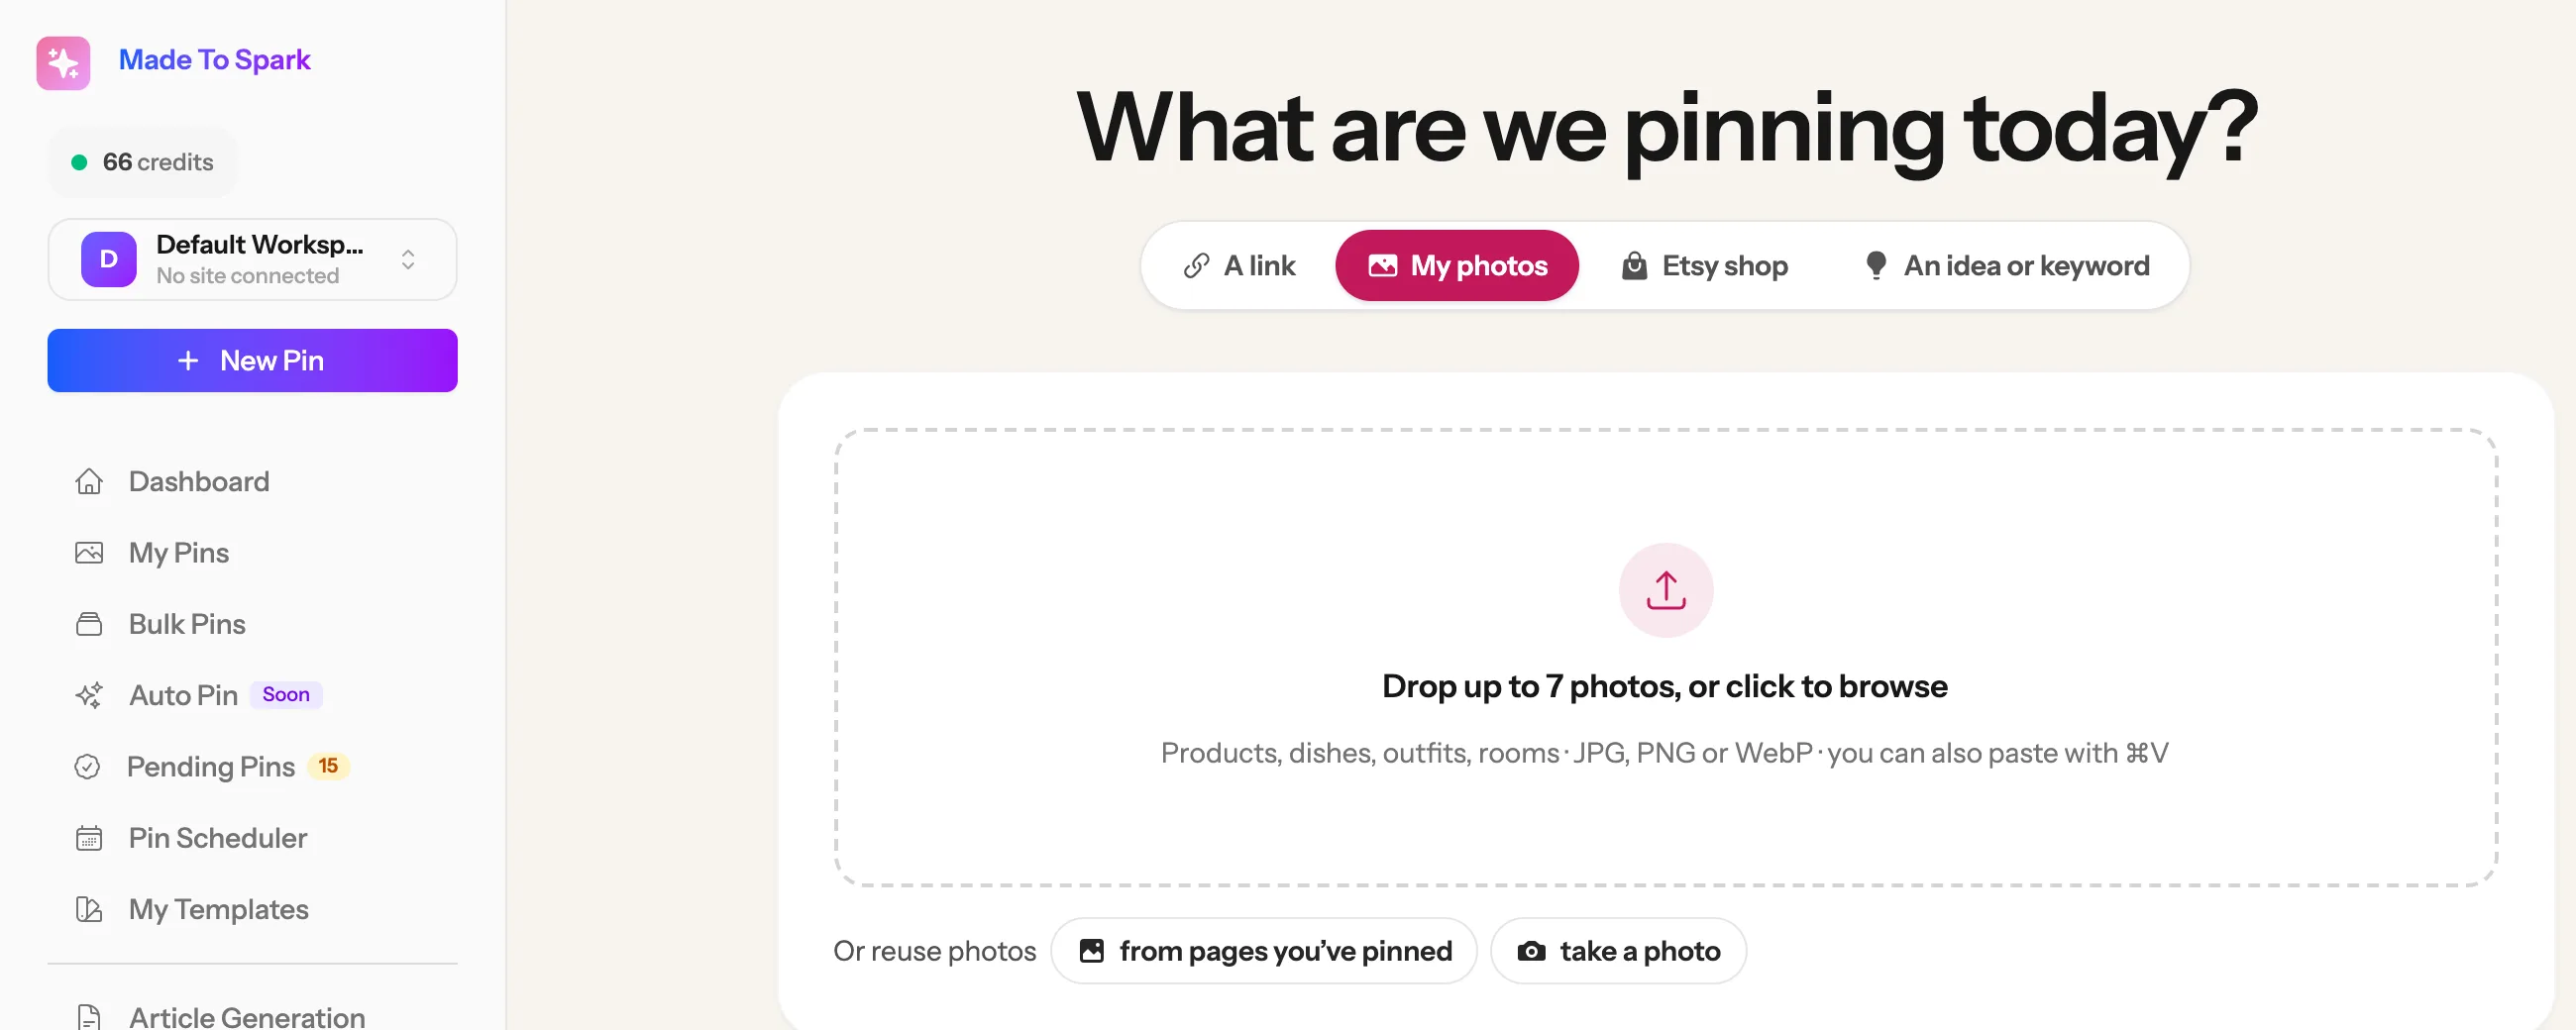
Have photos but no page to paste? Add them to Made to Spark and get finished Pinterest pins in your own photos, with headlines written for you, each linking to your shop or blog. Here's the whole thing, click by click, with two real food photos.
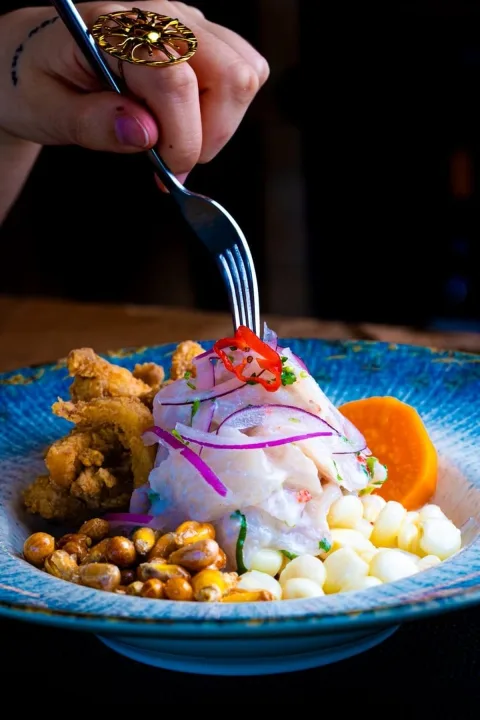
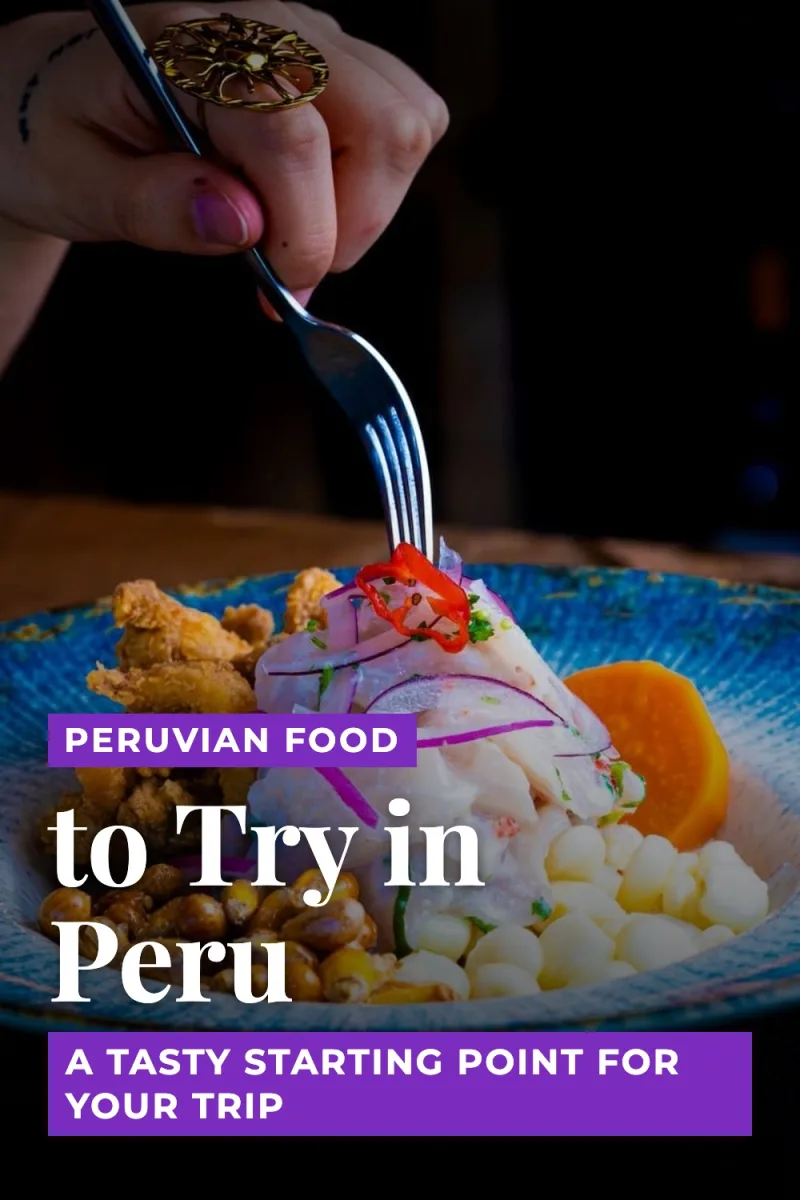
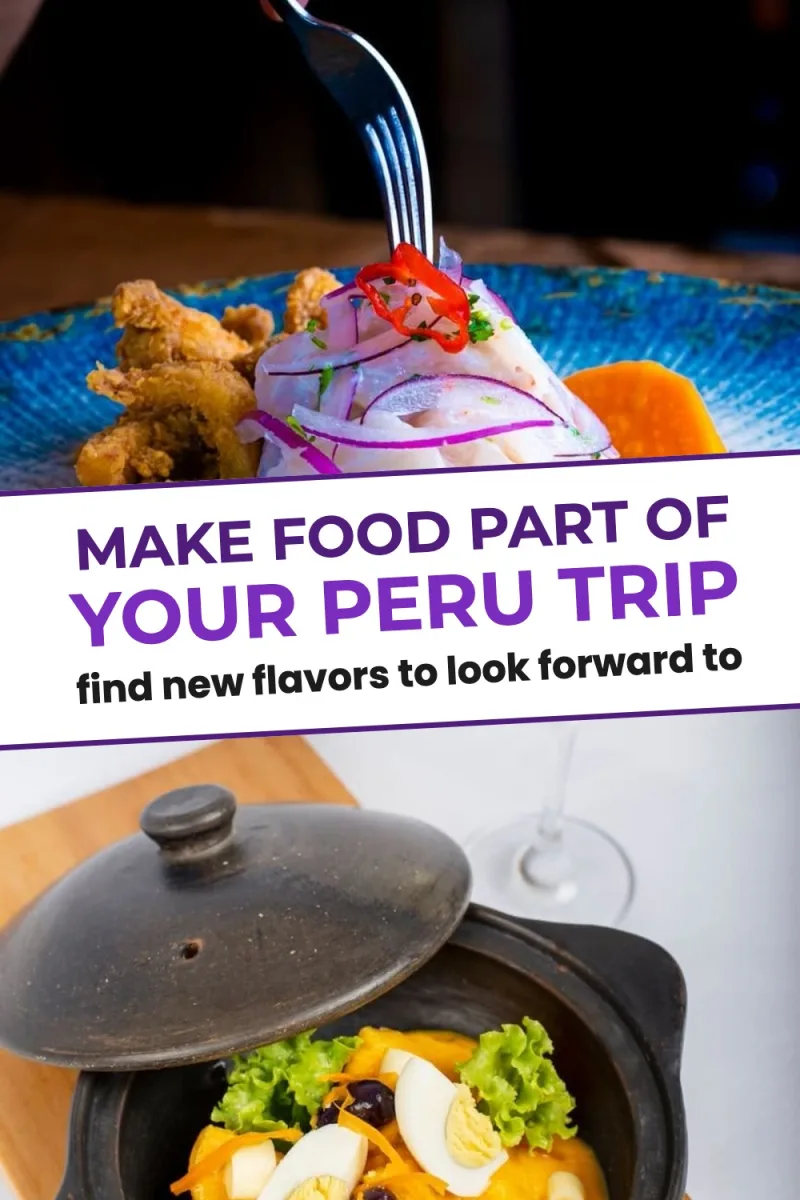
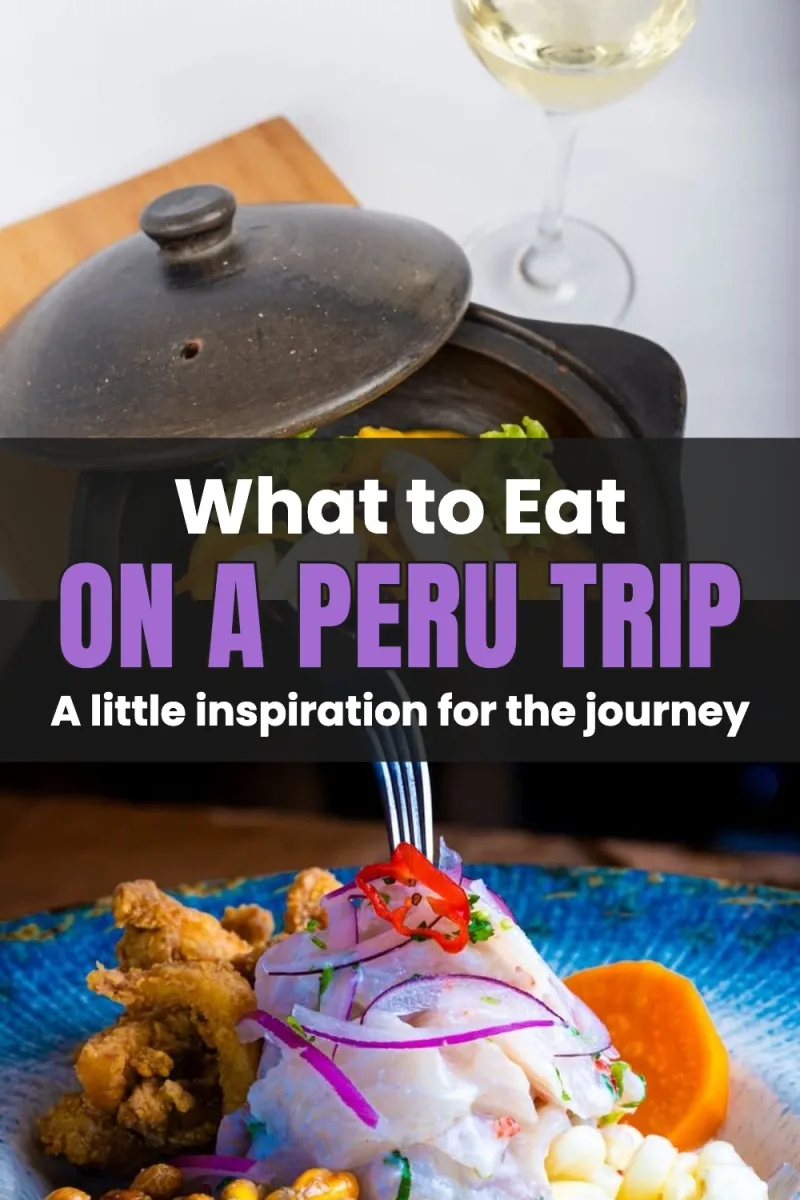
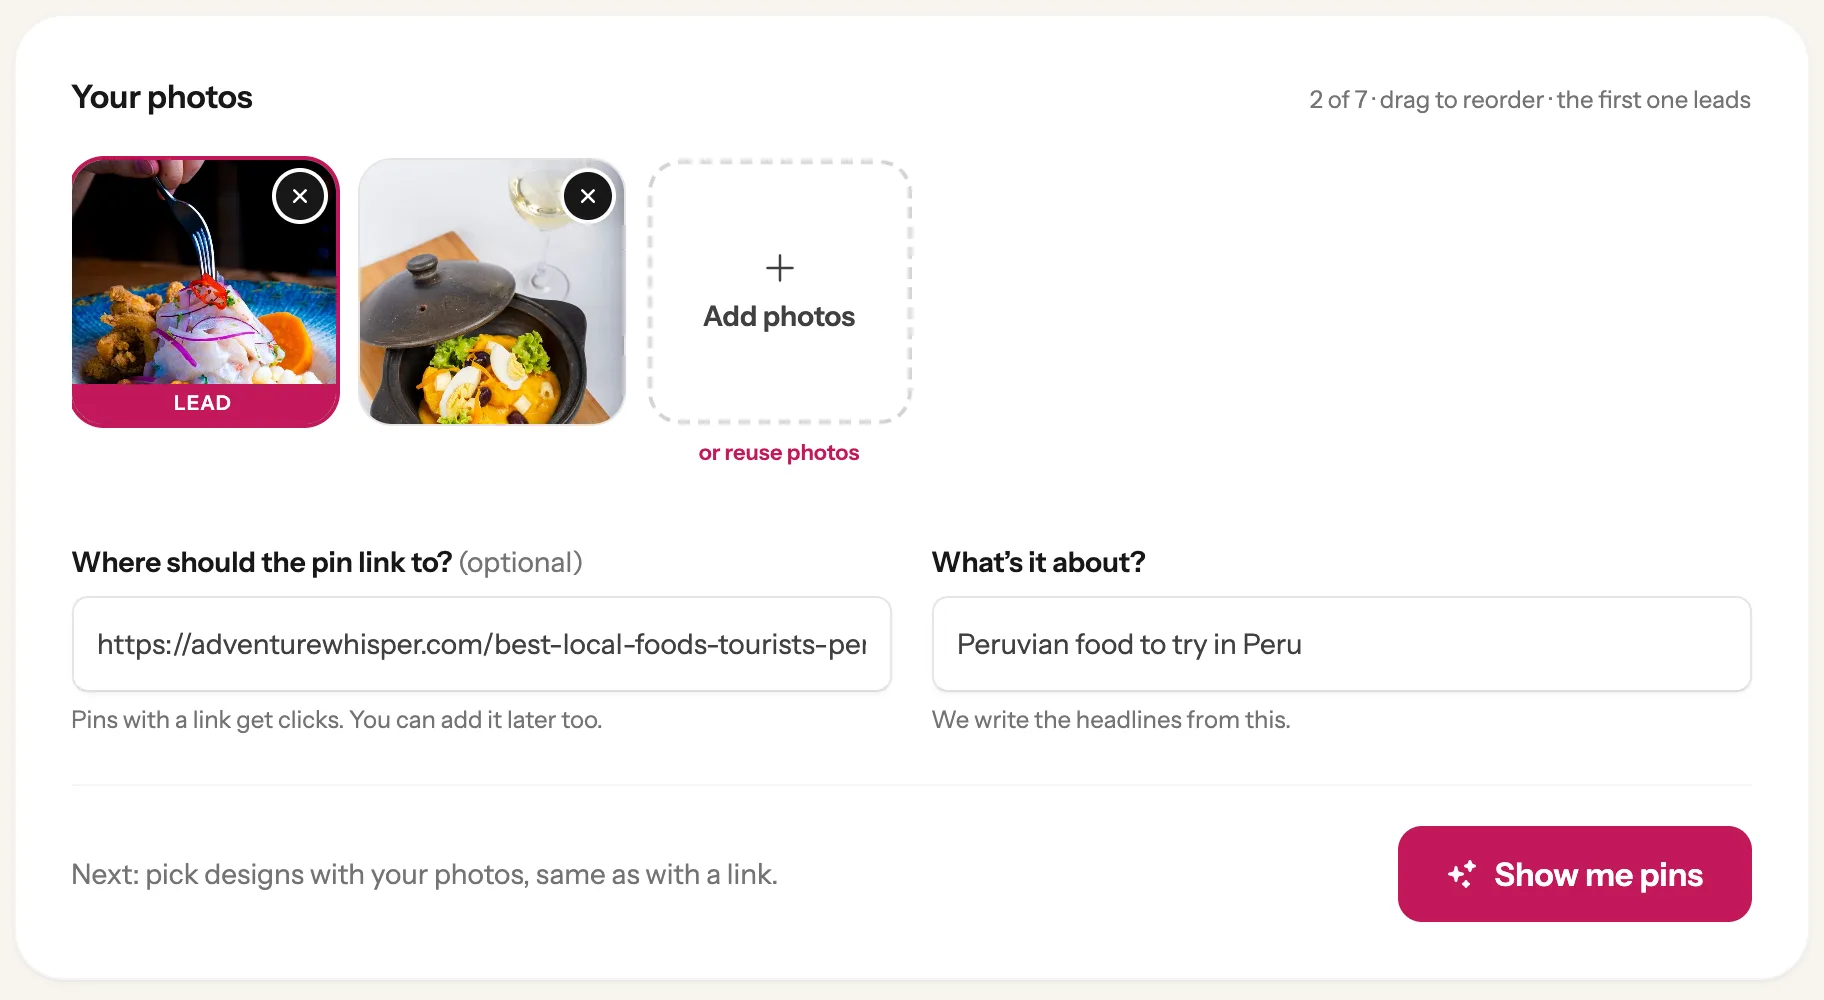
Use photos you took yourself: your products, dishes, outfits or rooms. Here we use two food photos from the Peru food post on the Adventure Whisper travel blog. Once you are signed in to Made to Spark:
1
2
3
Your photos show in a row, and Made to Spark takes a quick look at each one:
1
2
3
4
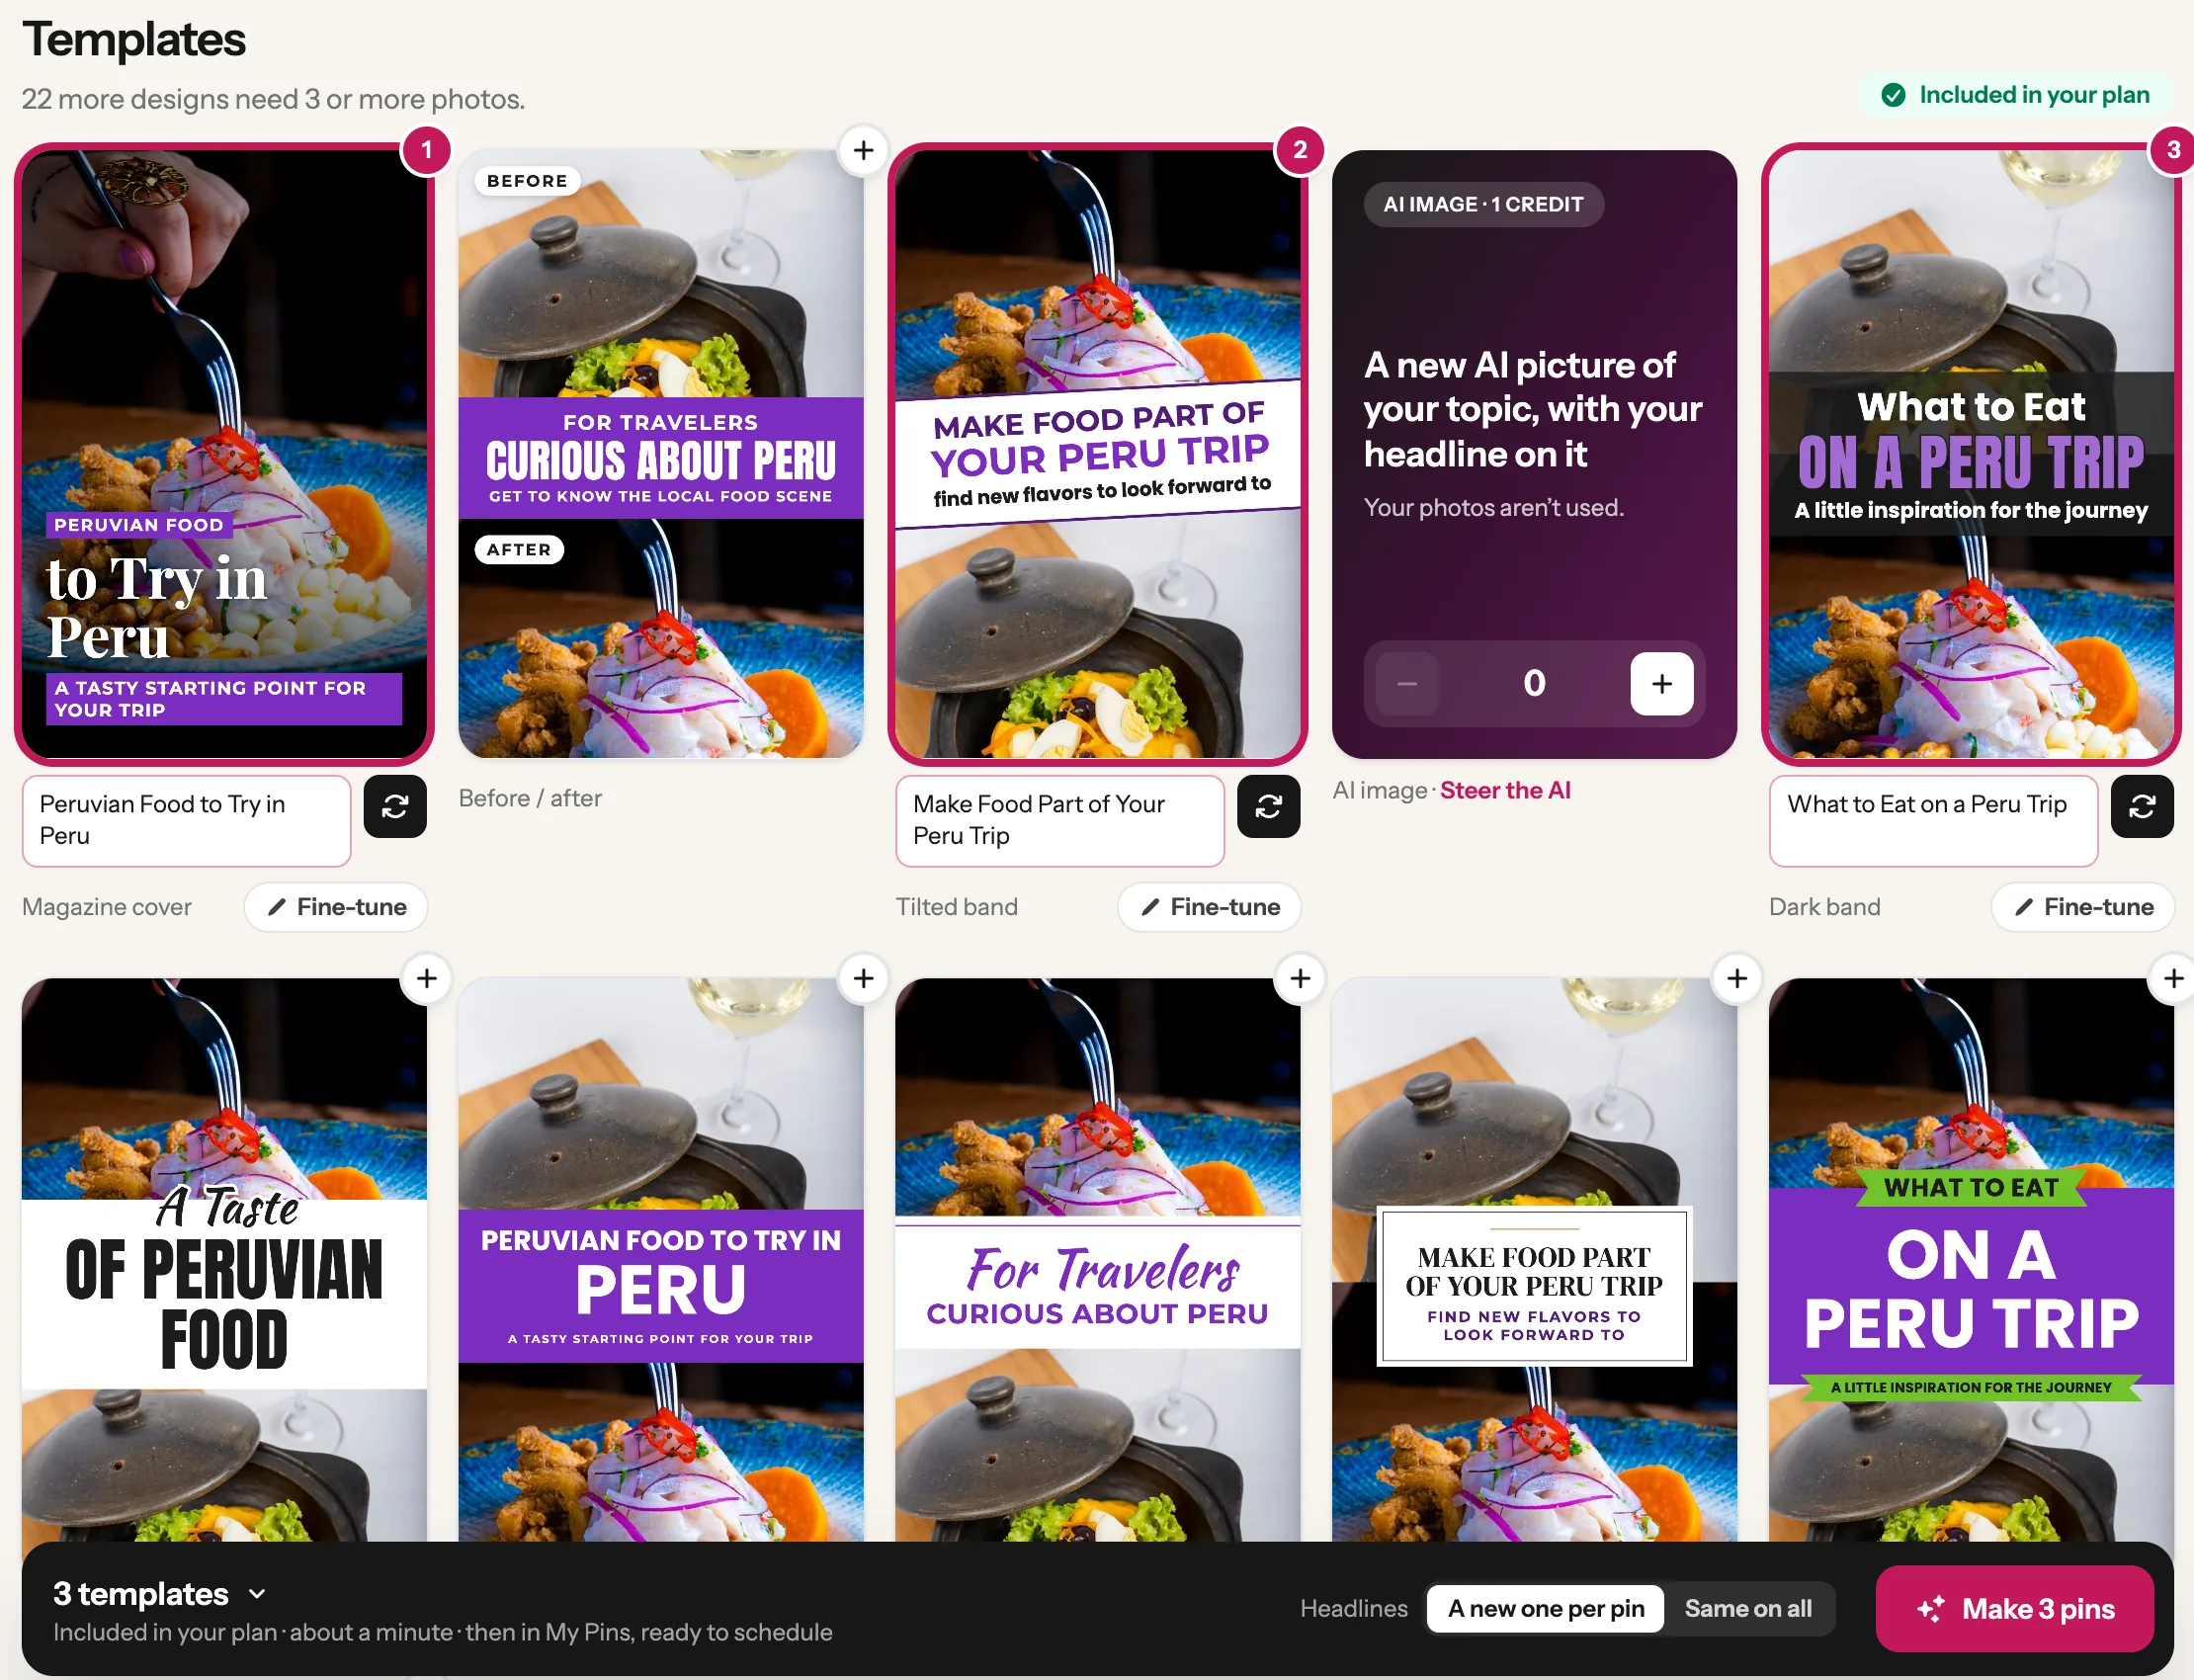
Under Templates you see ready-made pin designs, already filled with your photos and a headline. Nothing is chosen yet. Each design you tap becomes one pin. Tap + on each one you like, up to 5. A chosen design gets a number. Tap it again to take it out.
Tap + to choose
Each design you chose shows its headline underneath:
1
2
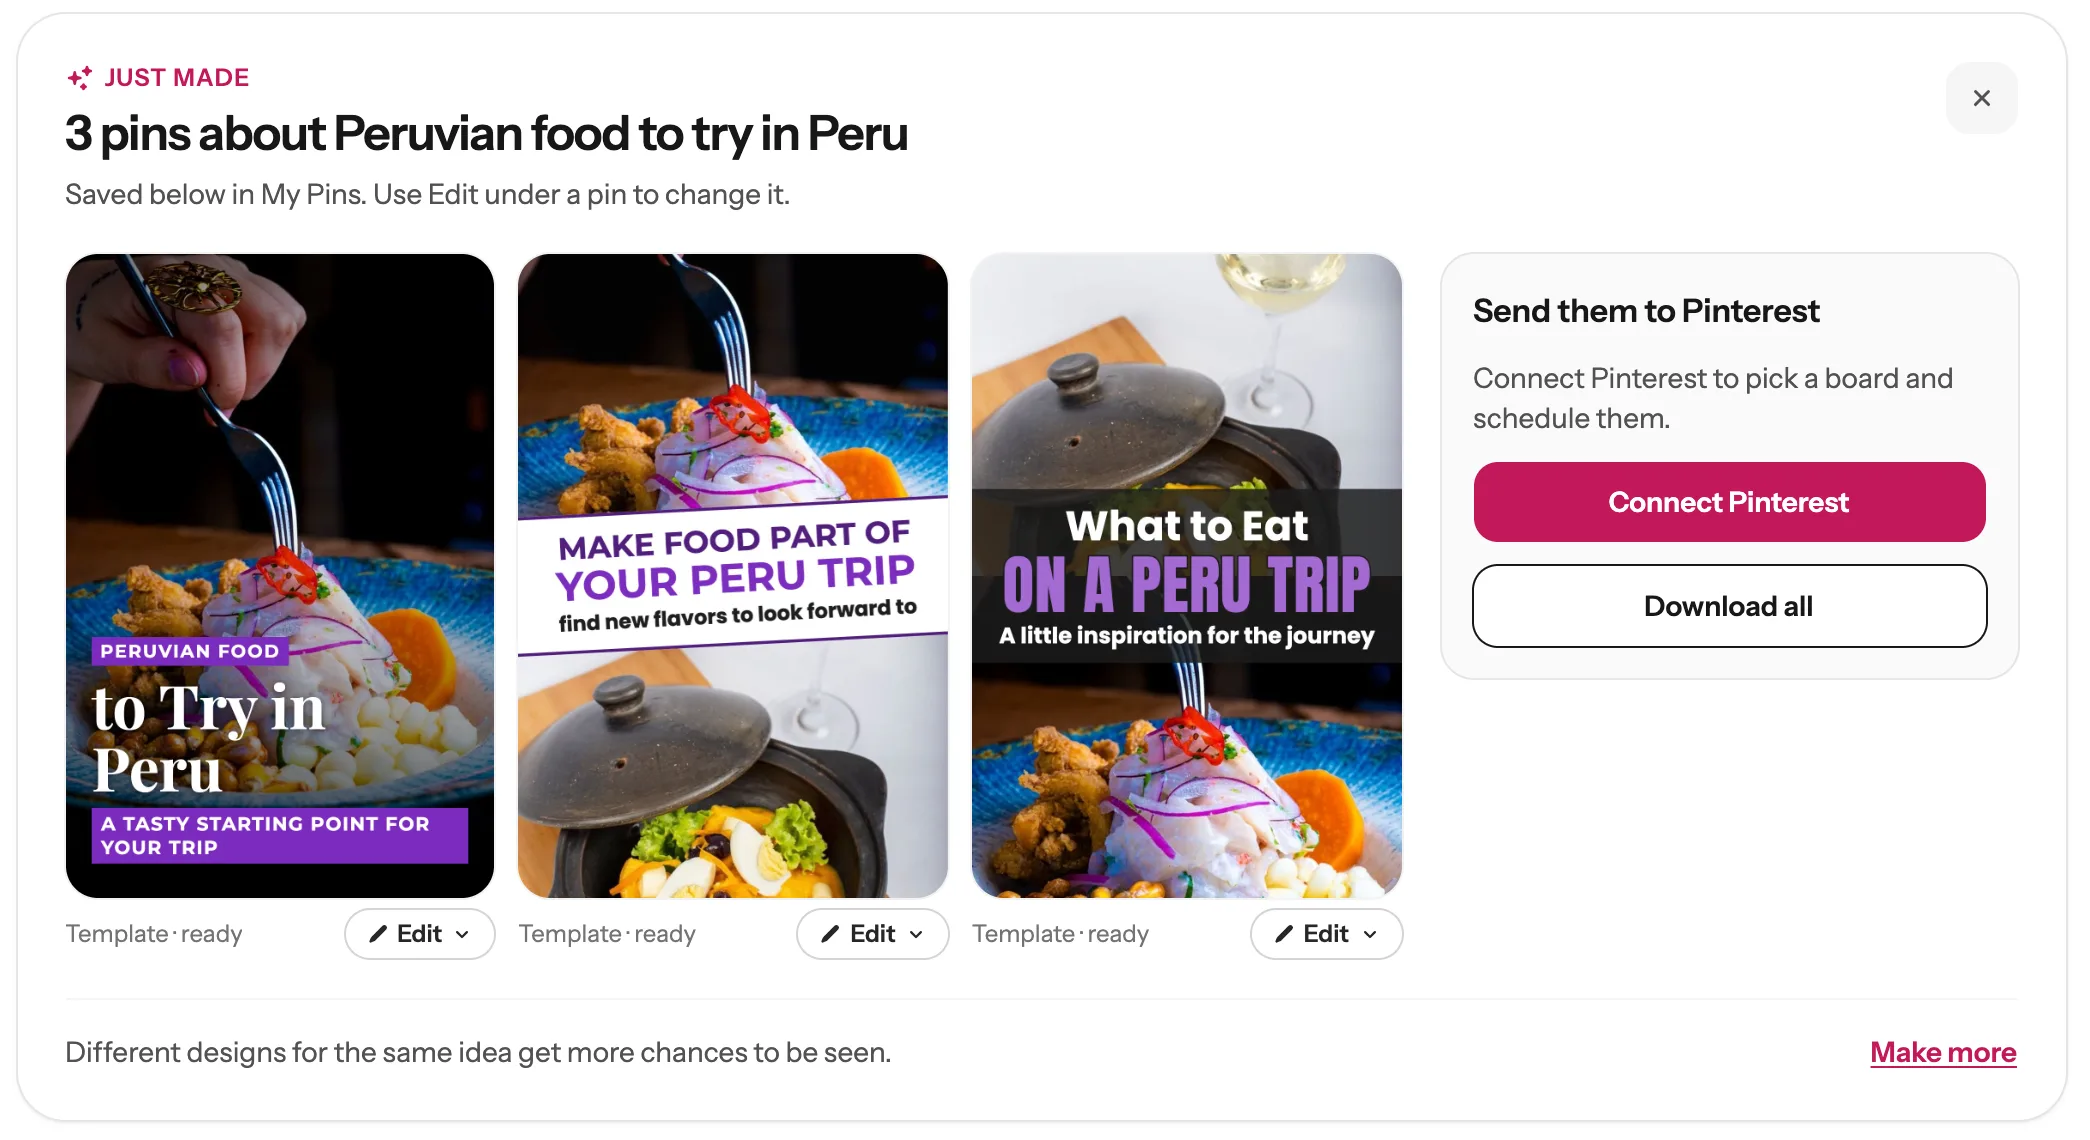
You land on My Pins and watch them being made. You can leave the page; they keep going. Give each one a quick look. To change something, click Edit under that pin, then Edit text and photos (no credit).
✎
On the right of your new pins:
1
2
3
4
5
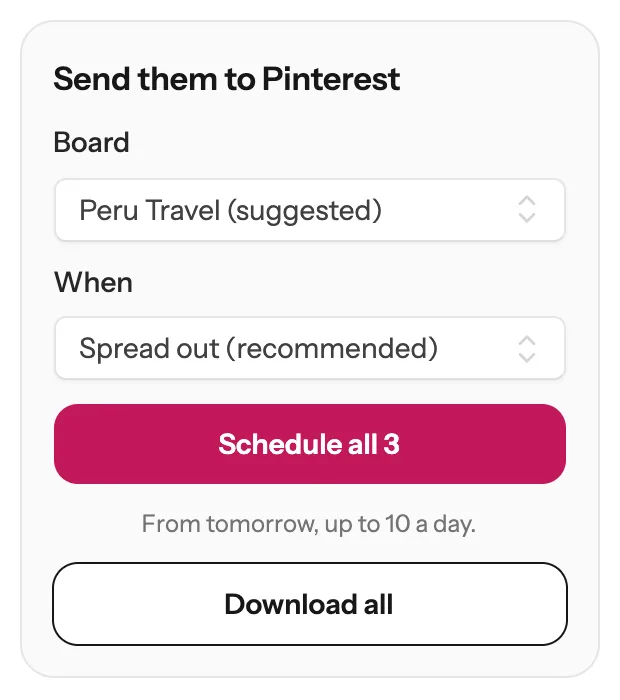
Two photos, three designs, three pins ready for Pinterest. Each one links to the blog post.
Next guide
Schedule your pins, and post them to more than one board
From My Pins, or fill your whole Pinterest calendar in one click.
Clear photos of one thing: a product, a dish, an outfit or a room. JPG, PNG or WebP, up to 7 at a time. Tall photos fit pins best; a wide photo gets cropped. A photo smaller than 1,000 pixels on its short side is marked Low resolution, because it can look soft on a pin. Photos straight from a phone are big enough.
No, it is optional. But a pin with a link sends people to your shop or post, so it is worth adding. You can also add it later, when you schedule the pin.
Made to Spark spots it and asks what you want to do. Make new pins from it crops around the old text, so the titles don’t clash. On a subscription plan you can also pick Use it as a finished pin: it goes to My Pins as it is, ready to schedule, with no new design.
Template pins made from your photos are included in every subscription plan, up to your plan’s monthly amount. After that, or with credits only, each uses 1 credit. AI scene pins and AI image pins always use 1 credit each. The bar at the bottom shows what your pins use before you click Make.
If a pin does not work, its spot says what happened, and nothing is charged for it. Often you see a Try again button: click it once. If you pick more pins than you have credits for, the Make button changes into a button to get more credits, so nothing starts half done.
Stuck on a step? Just reply to any email from us, or use the chat button at the bottom right.