Clicky

Step-by-step guide · 6 steps · about 3 minutes

How to make Pinterest pins from a blog post

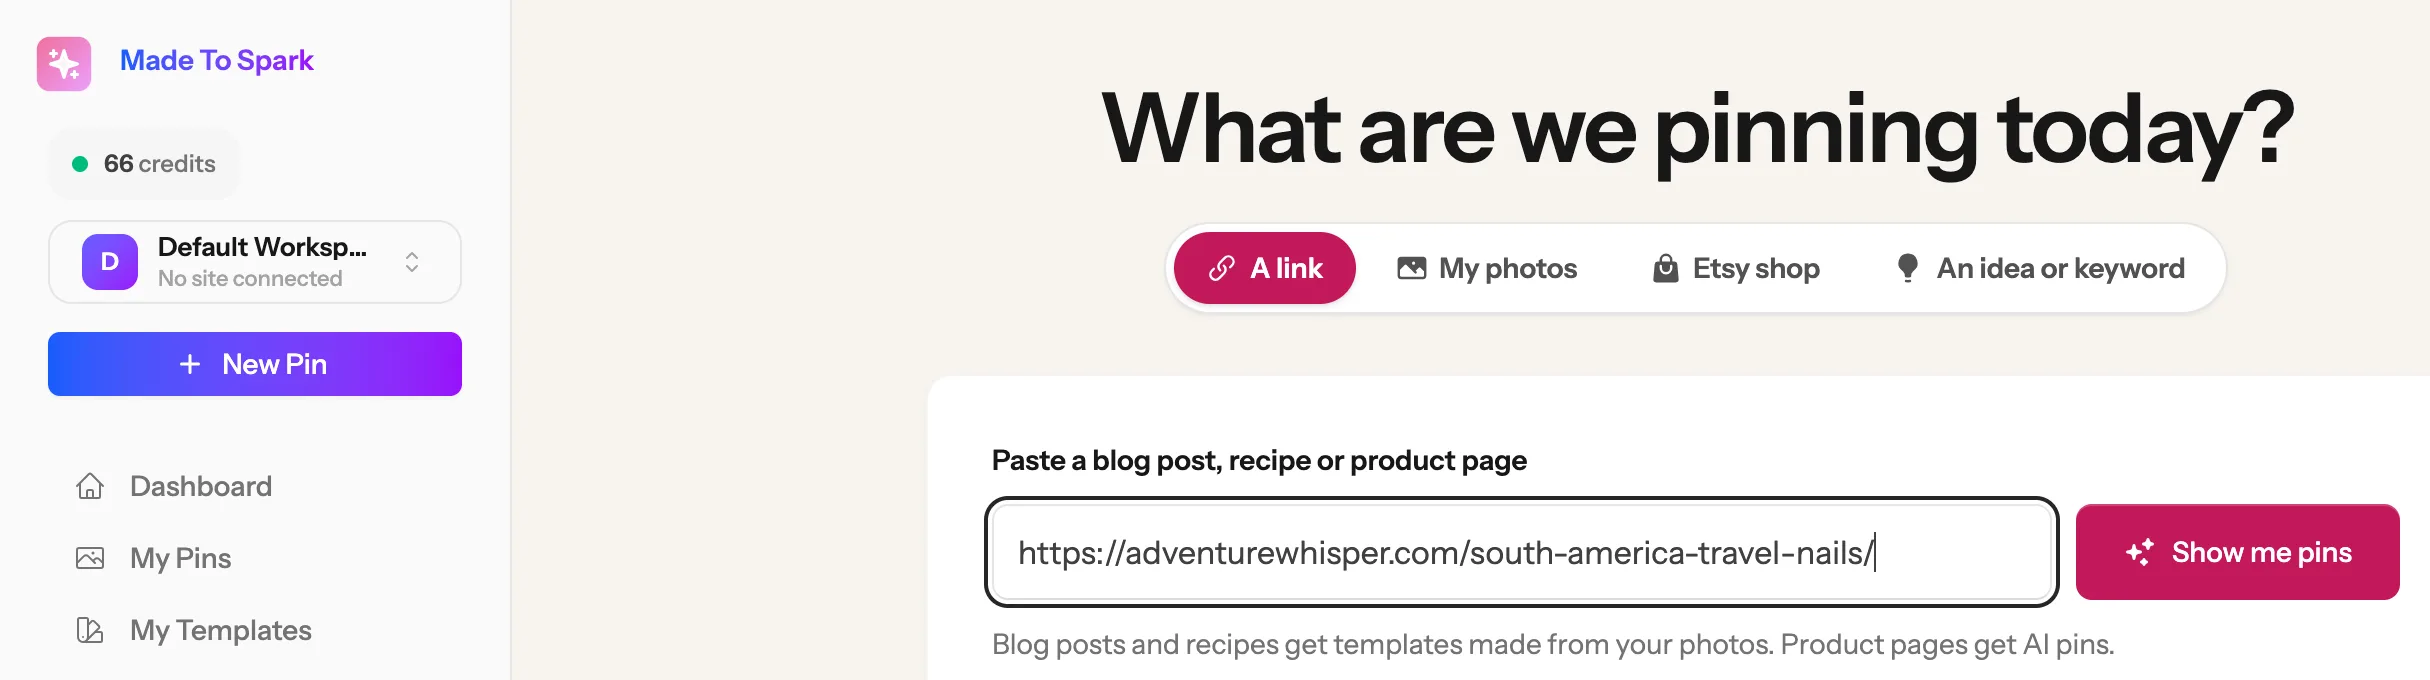
Paste one blog post link. Get finished Pinterest pins made from your own photos, with headlines written from your post, each linking back to it. Here's the whole thing, click by click, with a real travel blog post.

The seven photos found in the blog post
The photos in your post
Finished Pinterest pin 1 from the travel nails post Finished Pinterest pin 2 from the travel nails post Finished Pinterest pin 3 from the travel nails post
3 pins, about a minute later

Before you start

  1. 3

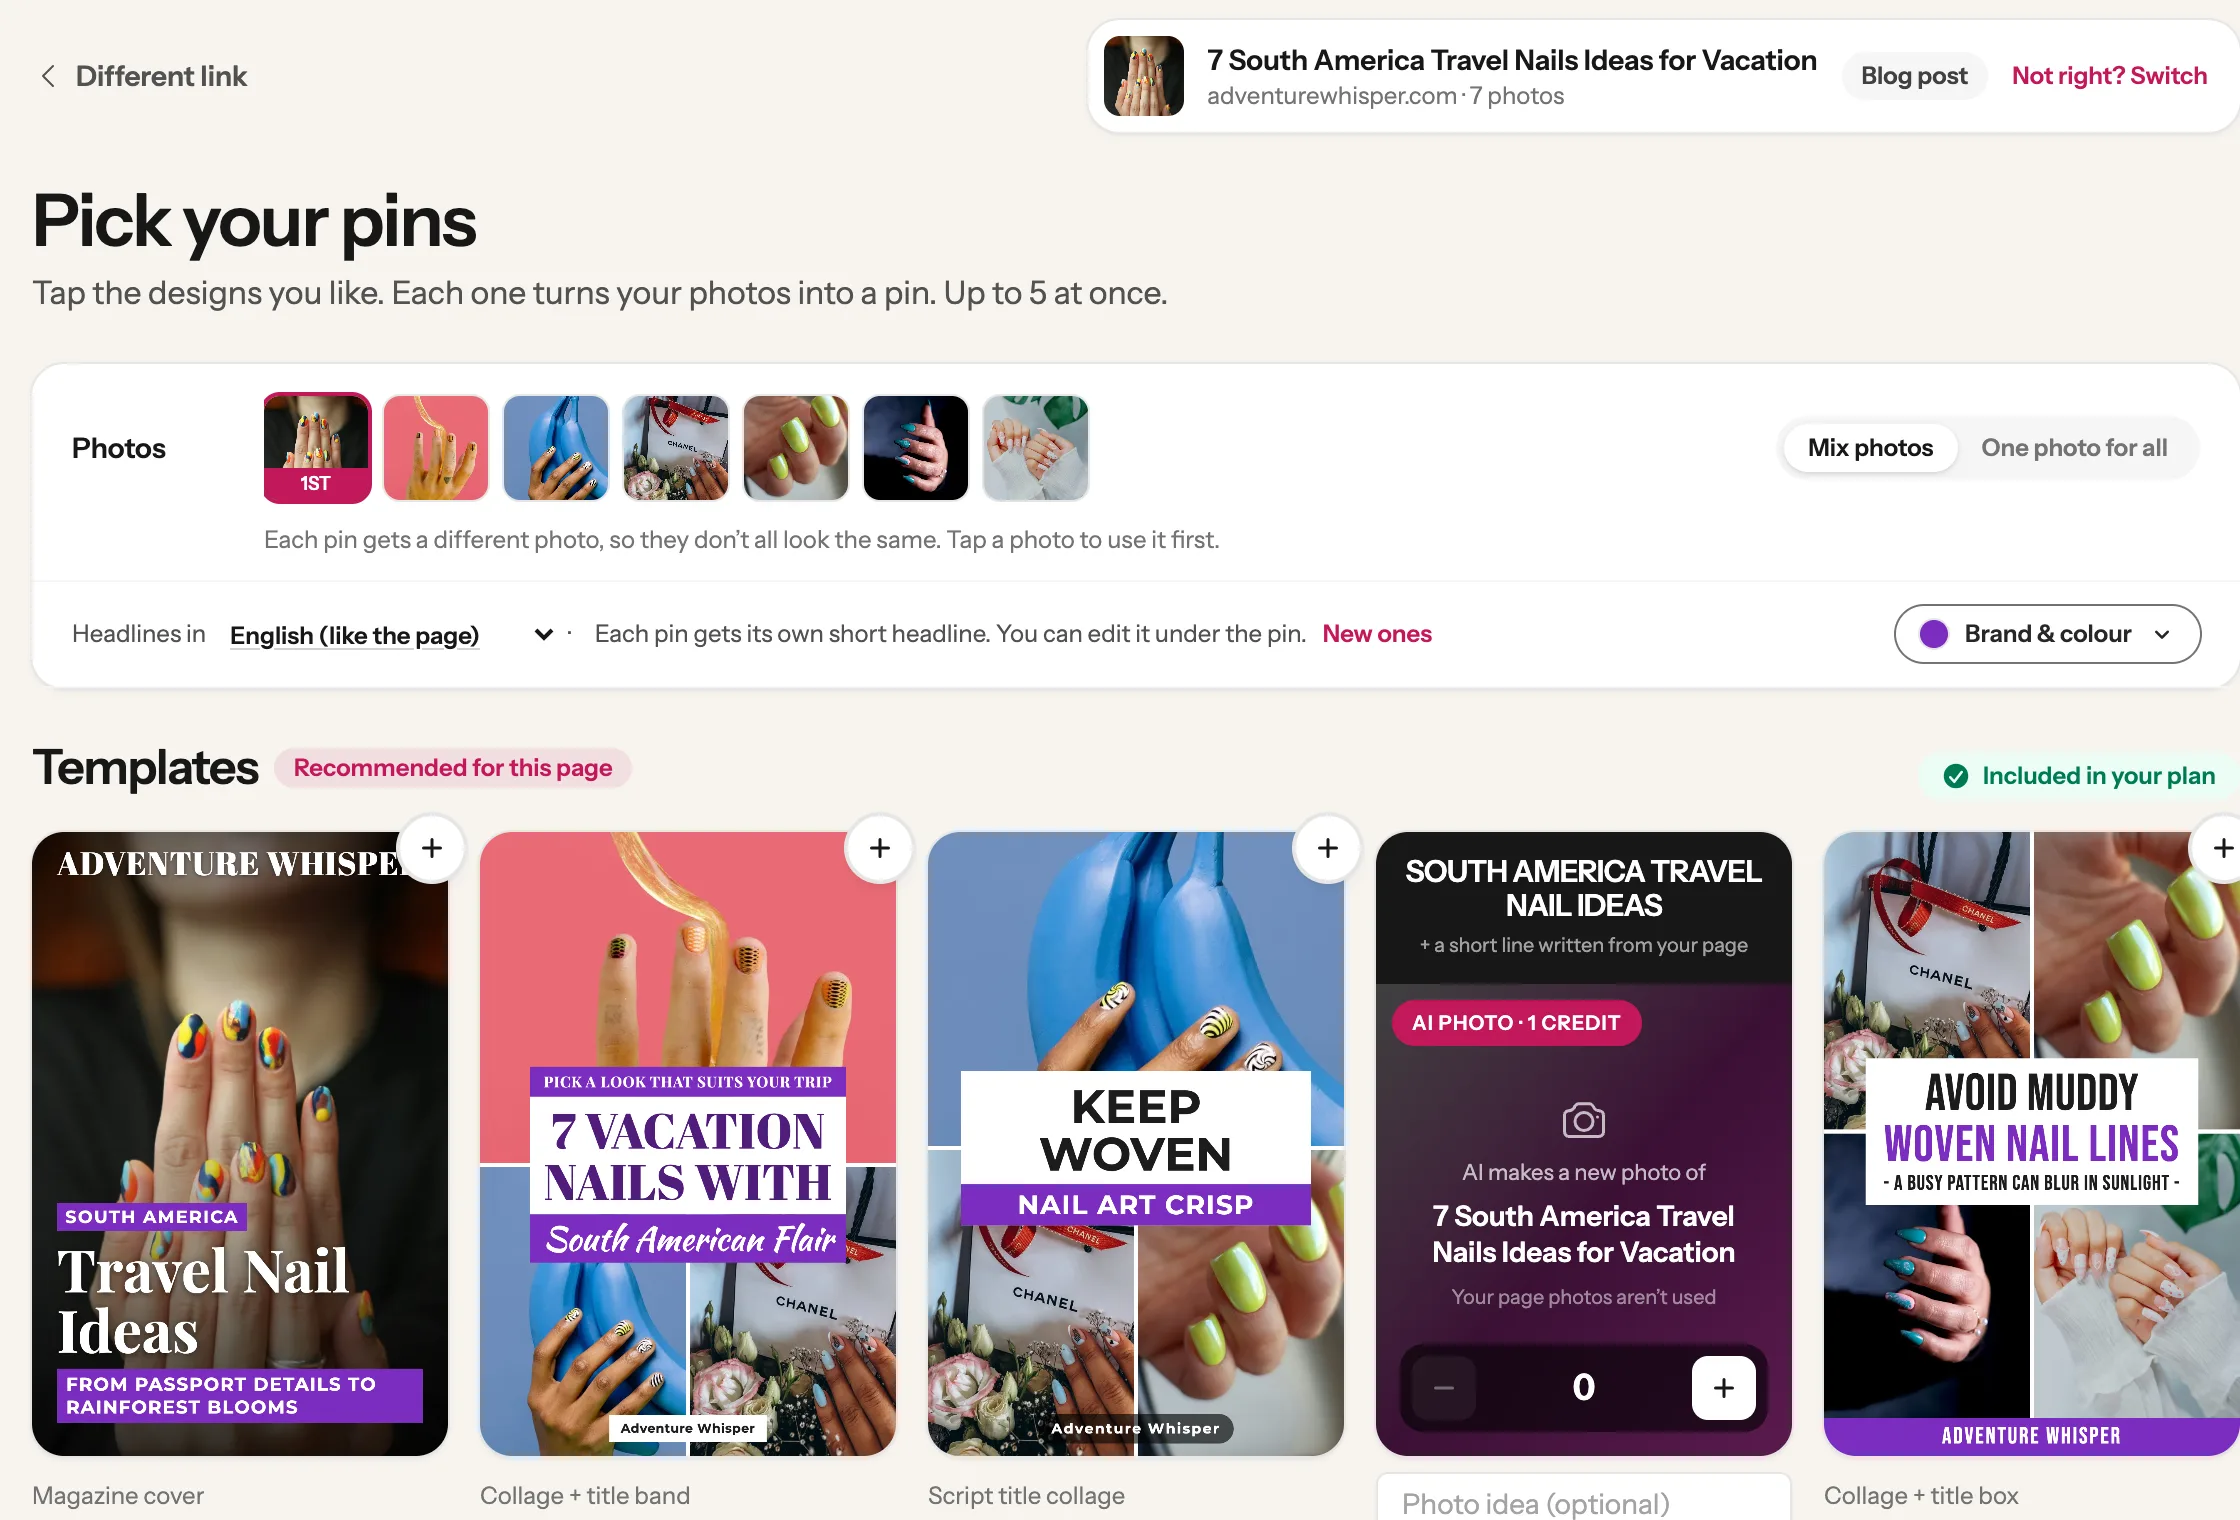
    Tap the designs you like

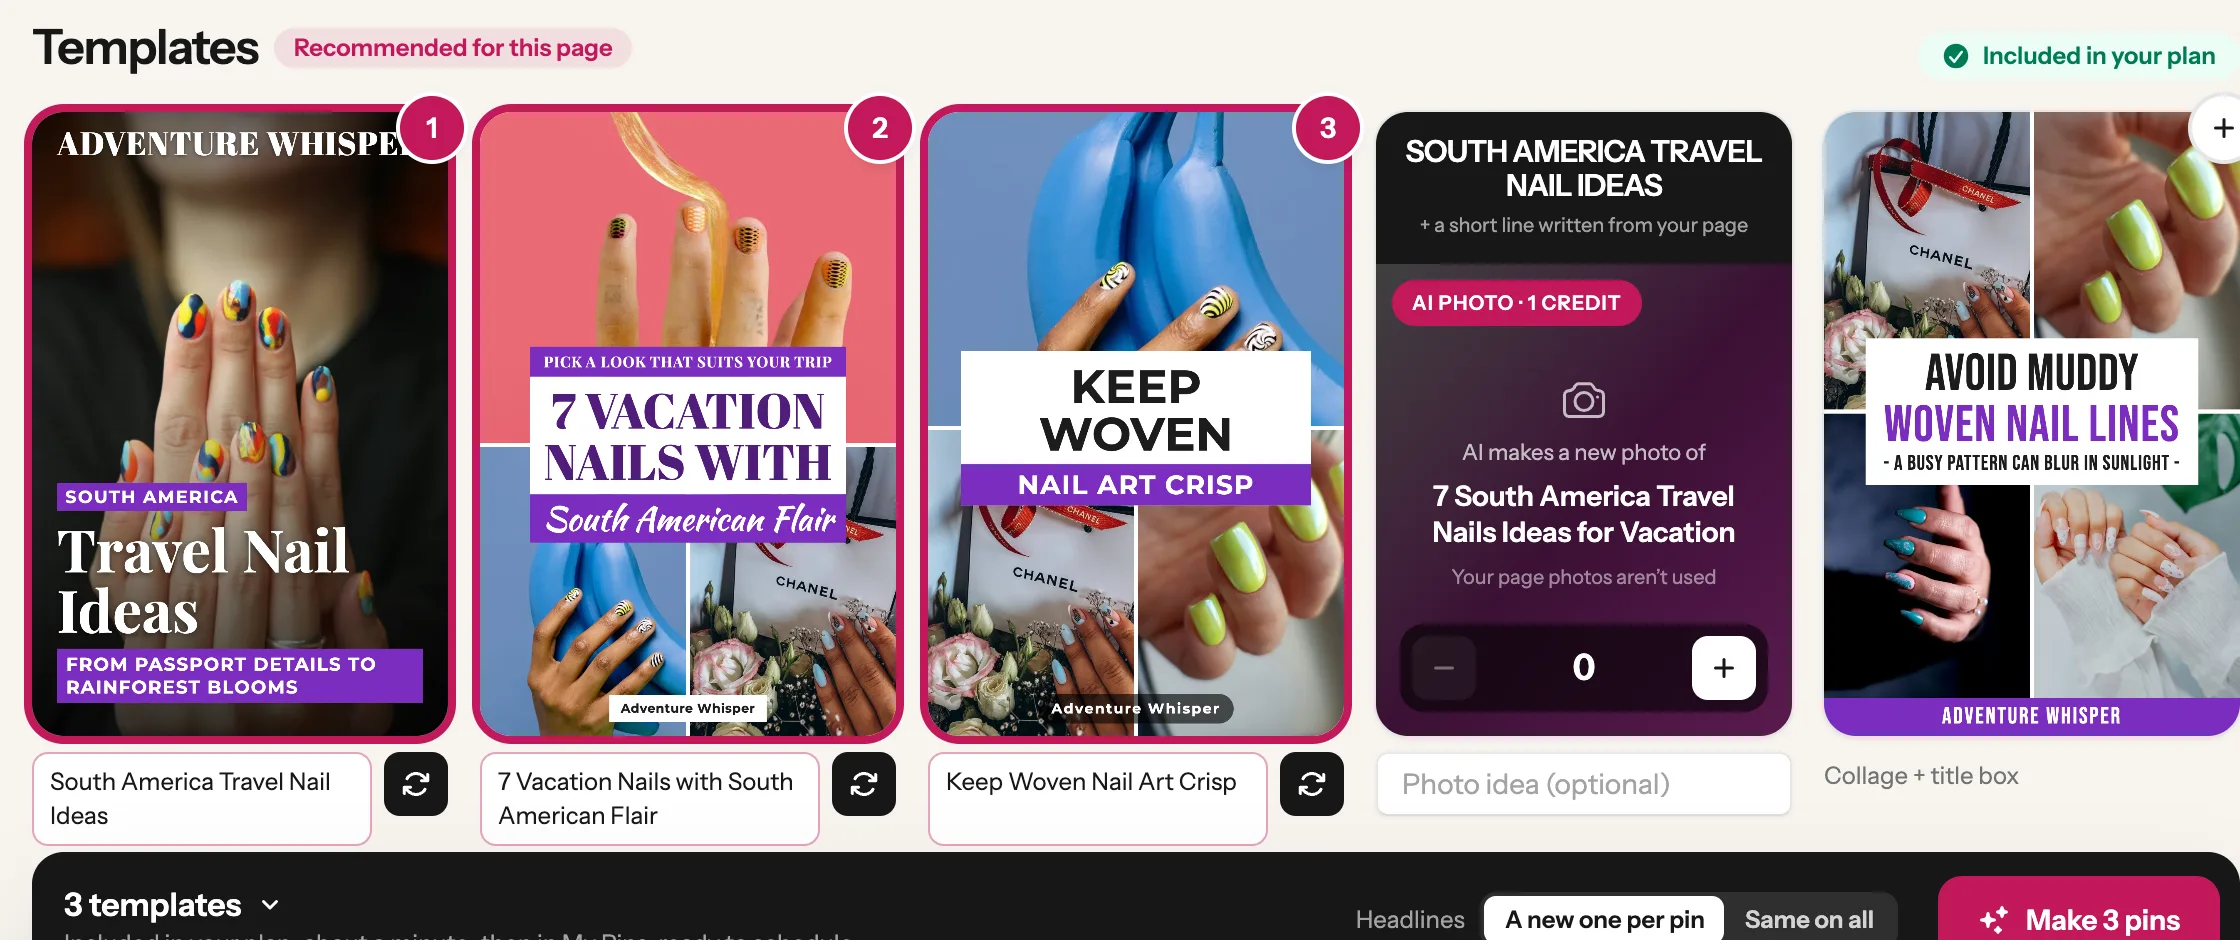
    Under Templates you see ready-made pin designs, already filled with the photos from your post and a headline written from it. Nothing is chosen yet. Each design you tap becomes one pin. Tap + on each one you like, up to 5. A chosen design gets a number. Tap it again to take it out.

    1. 1 The Photos row (1) shows what was found in your post. With Mix photos on, each pin uses a different one. With One photo for all, every pin uses the same one. Tap a photo to put it first.
    The pick screen: the photos found in the post, and pin designs made from them, each with a plus button 1 Tap + to choose
    Tip: Want a brand-new picture instead of your photos? Tap + on the dark AI photo card. Each one uses 1 credit. Template pins are included on a subscription plan, up to your plan’s monthly amount. With credits only, each uses 1 credit. Want your blog name and colour on the pins? Click Brand & colour.
  2. 4

    Check the words, then click Make

    Each design you chose shows its headline underneath:

    1. 1 Click a headline to change the words, or tap the round arrows next to it for a new one.
    2. 2 Click the Make button at the bottom. It counts the designs you chose: we chose 3, so ours reads Make 3 pins.
    Three chosen designs with their headlines underneath and the Make 3 pins button 1 2
  3. 5

    Wait about a minute: your pins are ready

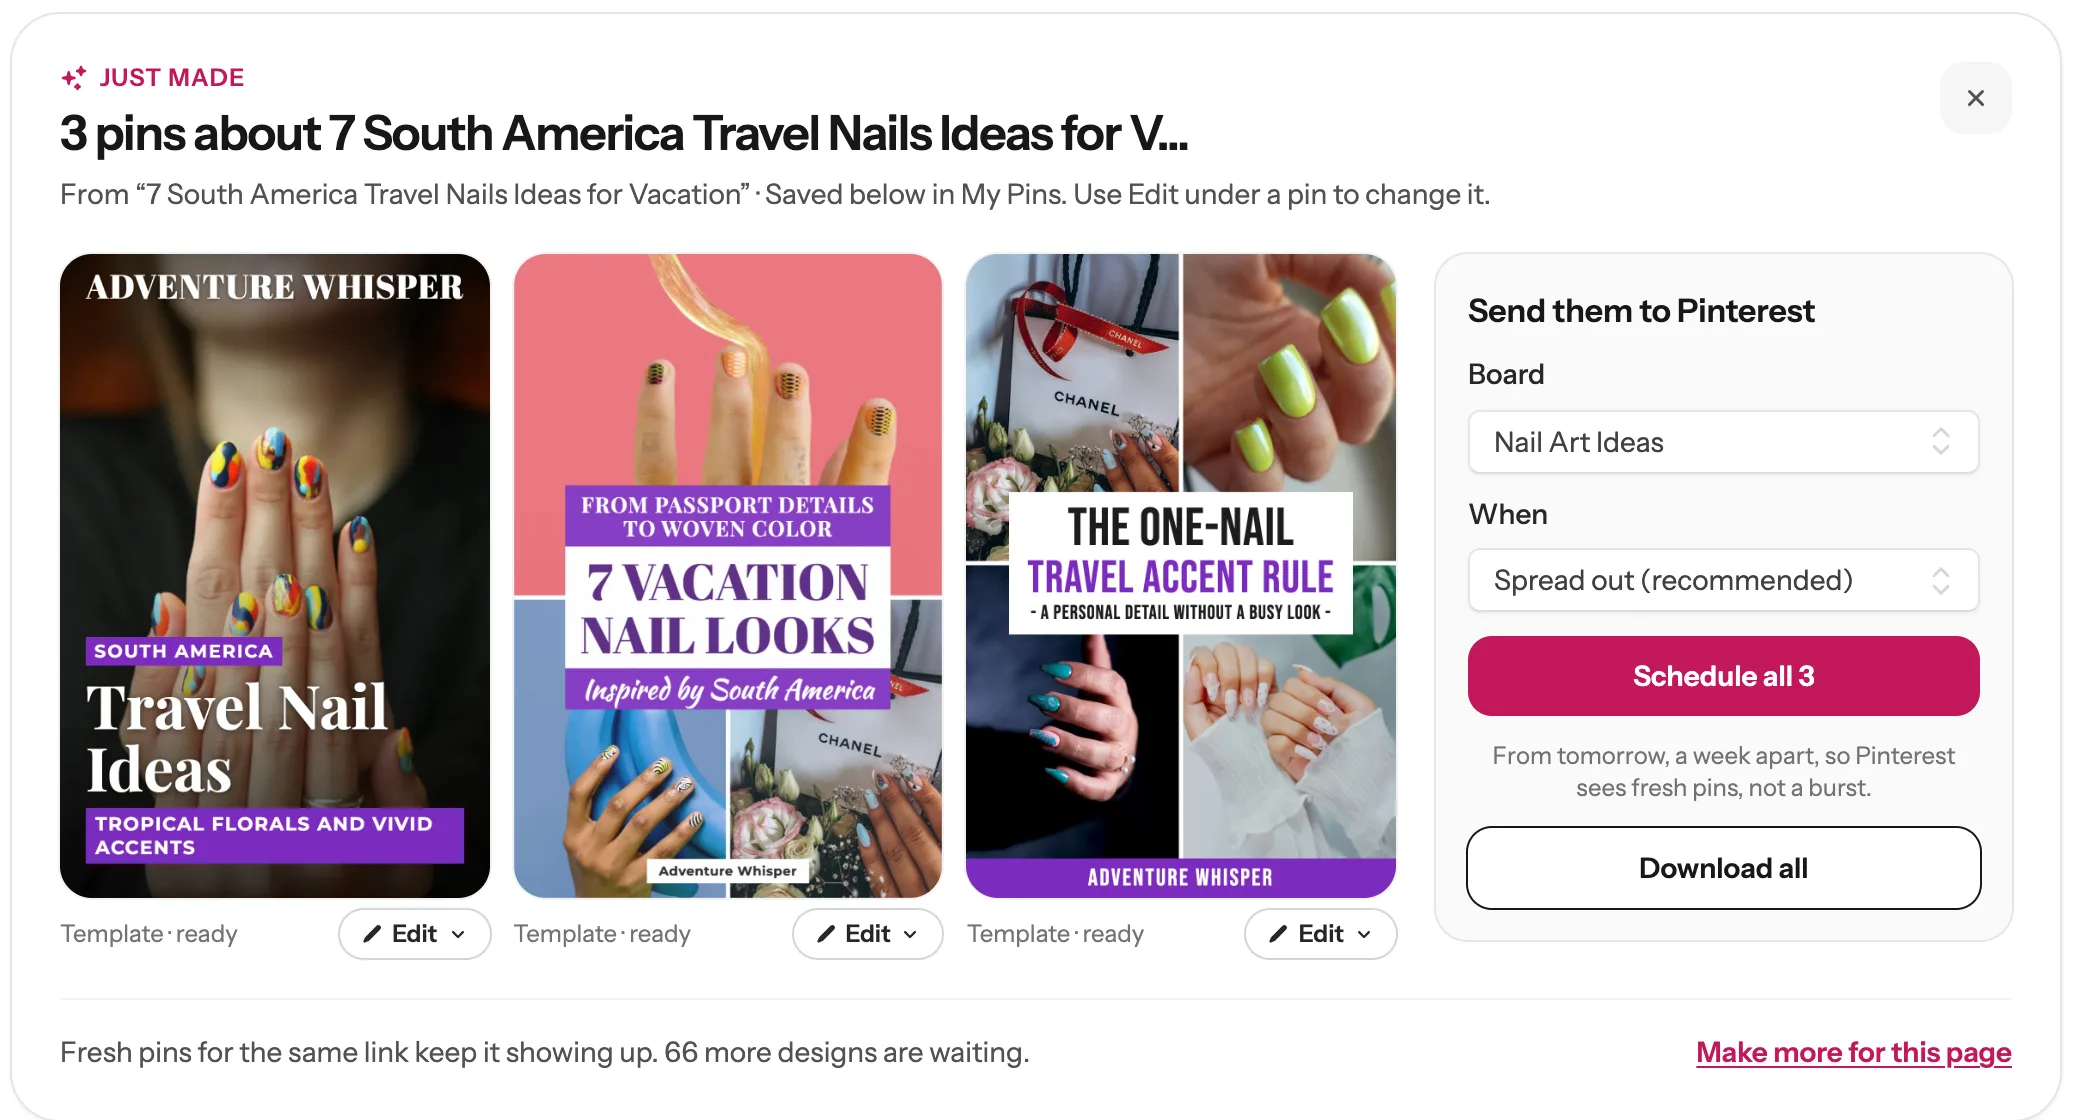
    You land on My Pins and watch them being made. Give each one a quick look. To change something, click Edit under that pin, then Edit text and photos (no credit).

    Three finished Pinterest pins from the travel nails post in the Just made box ✎
  4. 6

    Send them to Pinterest

    On the right of your pins:

    1. 1 First time? Click Connect Pinterest and allow access on Pinterest. You only do this once, and it brings you straight back to your pins.
    2. 2 Pick a board. AI looks at your pins and your board names and chooses the best match, marked (suggested). If none of your boards fits, nothing is marked: pick the right one yourself, as we did here.
    3. 3 Leave When on Spread out (recommended). Pins from the same post go out a week apart, so Pinterest sees fresh pins, not a burst. Want to choose the days? Pick Pick dates myself.
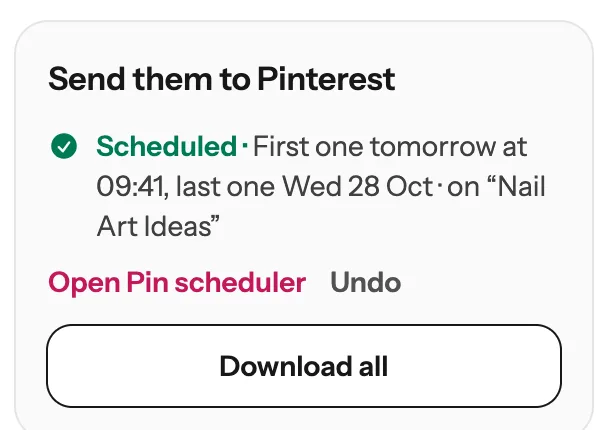
    4. 4 Click Schedule all 3. You see when they go out and on which board. Changed your mind? Click Undo.
    The Send them to Pinterest box with the Nail Art Ideas board chosen 2 3 4
    Scheduled: first one tomorrow, last one in two weeks, on the Nail Art Ideas board
    Tip: Every pin links back to your post. Rather upload them to Pinterest yourself? Click Download all to save the pictures. Scheduling comes with every subscription plan. With credits only, you see See plans with the scheduler instead of Connect Pinterest: use Download all, or pick a plan there.

Done! Here are the 3 pins from this guide

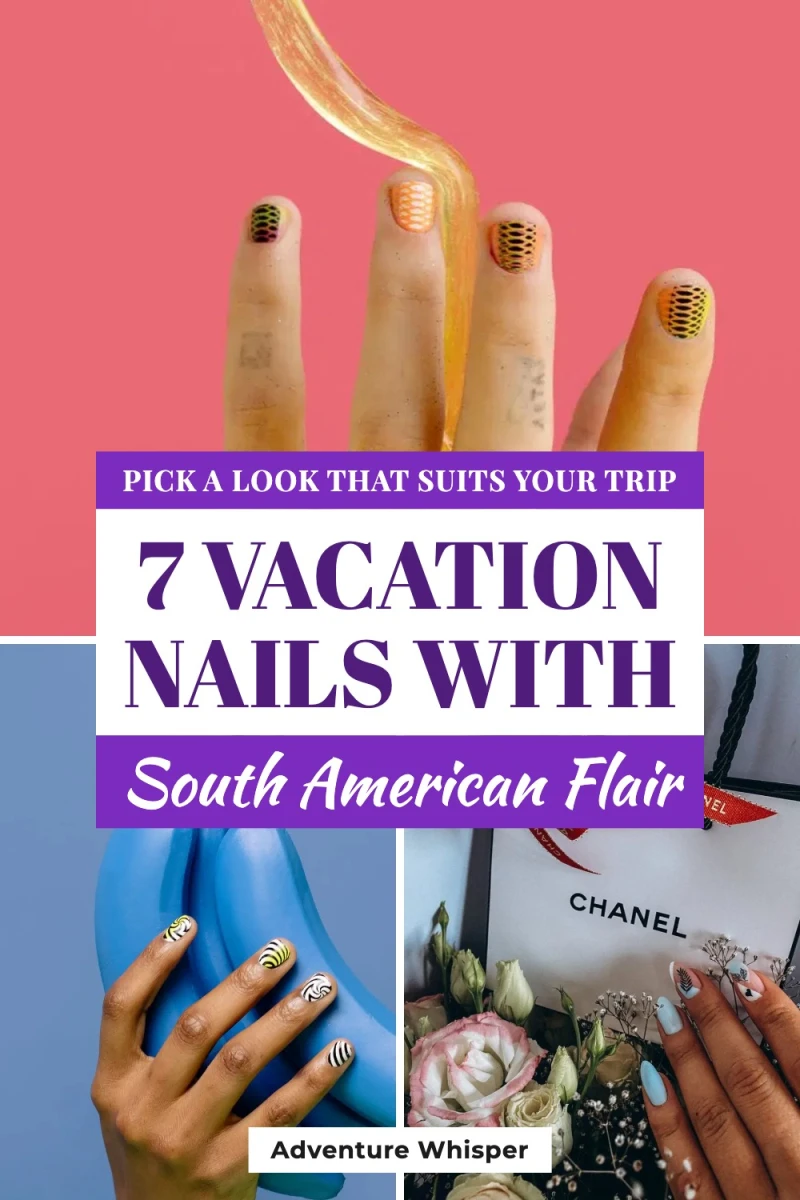
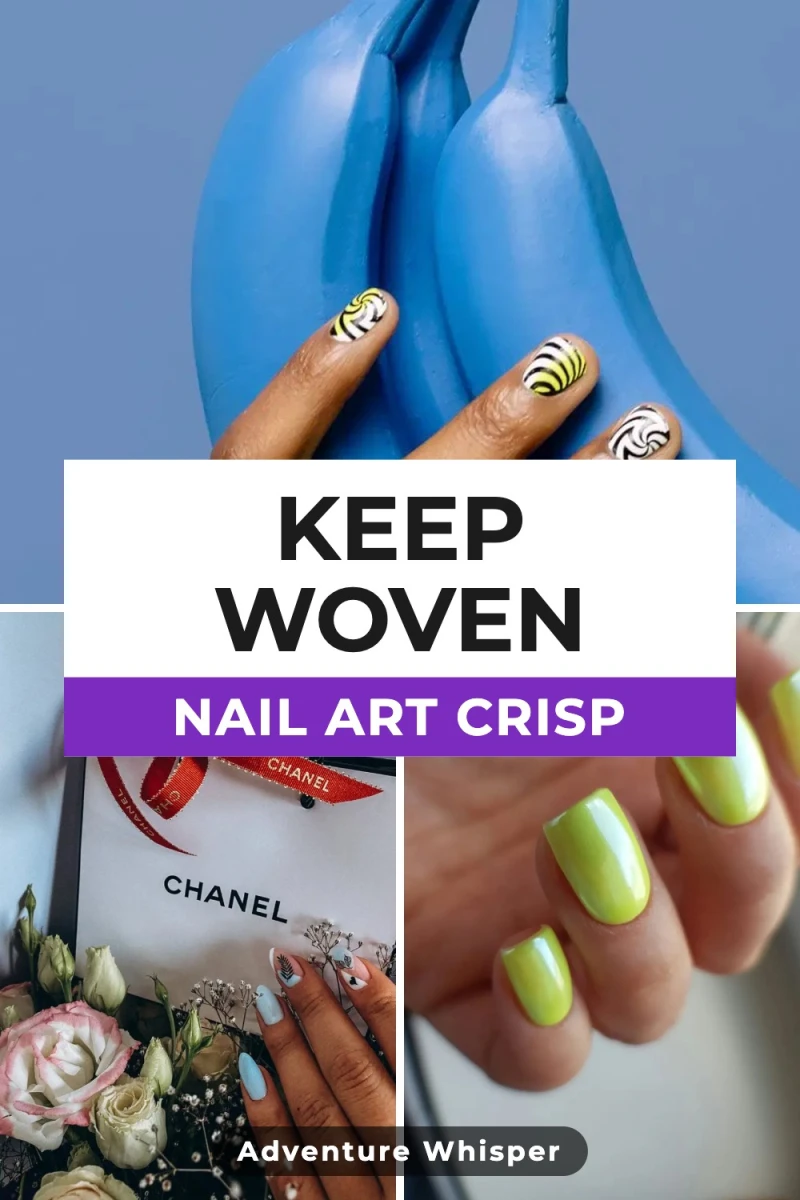
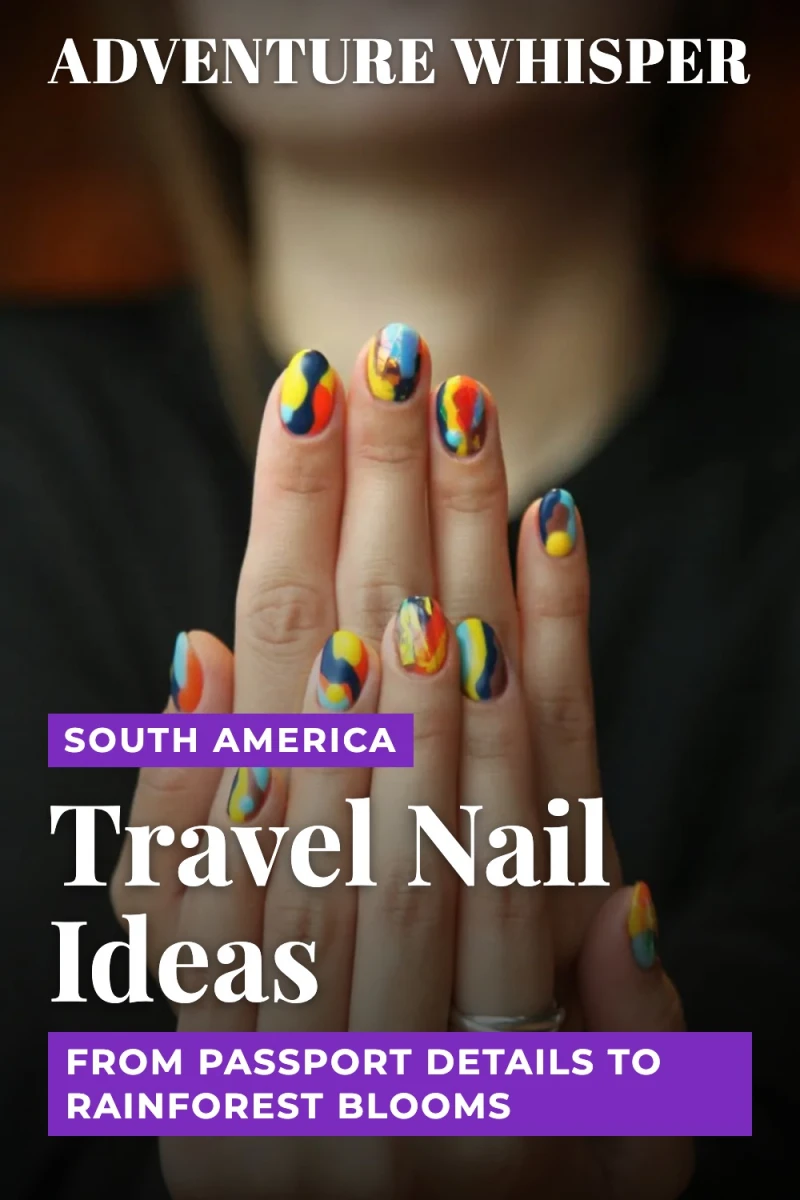
One blog post, three designs, three pins ready for Pinterest. Each one links back to the post.

Pinterest pin from a travel nails post, magazine cover design
Magazine cover
Pinterest pin from a travel nails post, collage + title band design
Collage + title band
Pinterest pin from a travel nails post, script title collage design
Script title collage

Next guide

Schedule your pins, and post them to more than one board

From My Pins, or fill your whole Pinterest calendar in one click.

Questions

Which blog posts can I use?

Any public blog post or recipe page with photos, whatever your blog runs on. Made to Spark reads the post, finds its photos and writes the headlines from your words.

Do these pins use credits?

Template pins made from your photos are included in every subscription plan, up to your plan’s monthly amount. After that, or with credits only, each uses 1 credit. An AI photo pin always uses 1 credit. The bar at the bottom shows what your pins use before you click Make.

What if something goes wrong?

If a pin does not work, its spot says what happened, and nothing is charged for it. Often you see a Try again button: click it once. If you pick more pins than you have credits for, the Make button changes into a button to get more credits, so nothing starts half done.

Can I put my blog name and colours on the pins?

Yes. Click Brand & colour on the pick screen to set the name on your pins, your brand colour and whether your logo goes in the corner.

Why make several pins for one post?

Different designs for the same post give it more chances to be seen. Spread out, they go out a week apart, so Pinterest keeps seeing something new.

Stuck on a step? Just reply to any email from us, or use the chat button at the bottom right.