How to Use Pinterest Templates to Make Pins Faster
 Paul
Paul
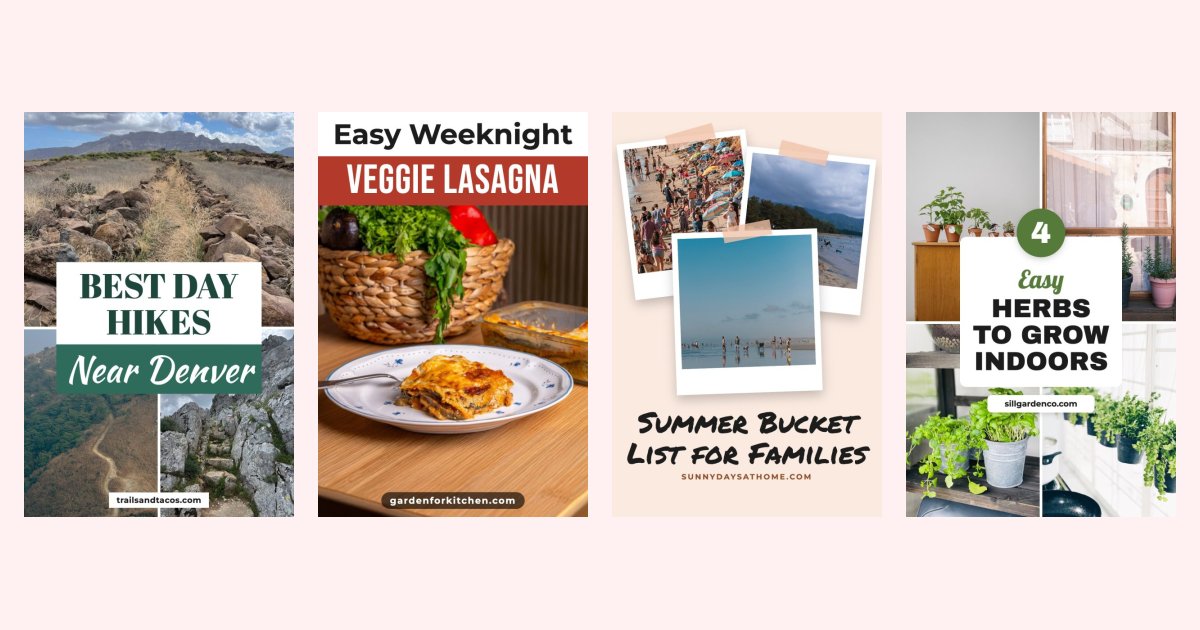
Pinterest templates save you from designing every pin from a blank canvas. You pick a layout once, then drop in a new photo and title for each post or product. Used well, a small set of templates is the fastest way to publish the steady stream of fresh pins Pinterest rewards.
This guide covers what a Pinterest template is, how to choose one, and the exact steps to turn a blog post or product into finished pins.
What is a Pinterest template?
A Pinterest template is a ready-made pin layout: where the photos sit, where the title goes, which fonts and colors are used, and where your website appears. Every pin you make from it shares the same structure, so your pins stay recognisable while the content changes.
Good templates share a few traits:
- A vertical 1000×1500 canvas. The 2:3 ratio is the size Pinterest recommends, and taller pins can be cropped in the feed.
- A title that reads on a phone. Most pinners scroll on mobile, so the headline needs a solid band or box behind it.
- Room for the photo. The image does most of the selling. Text should support it, not cover it.
- Your website on the pin. A small domain or shop name builds recognition when pins get repinned.
Step 1: Pick templates that match the content
The biggest mistake is using one template for everything. Match the layout to what the post or product is:
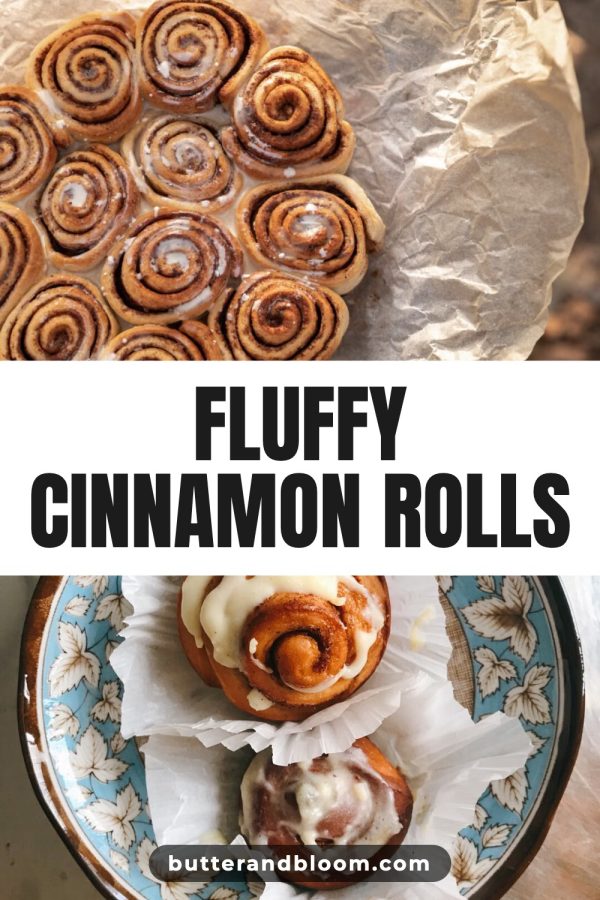
- A single recipe, product or tutorial: one large photo with a short title. See the recipe templates and Etsy product templates.
- Roundups and lists: a numbered grid or collage that shows the variety inside the post. Browse the Pinterest collage templates.
- Makeovers and DIY: a before and after split.
- Travel guides: three or four photos of different places, so pinners know the post covers the whole trip.
- Quotes, tips and routines: a softer layout with a script accent. The aesthetic templates are a good starting point.
Three to five templates are enough for most blogs and shops. More than that and your boards start to look inconsistent.
Step 2: Set your brand colors and website once
Before you make a single pin, decide on two brand colors and the website or shop name that goes on every pin. Changing colors element by element for each pin is where most of the time goes, and where pins drift off-brand.
If you design in Canva, save a brand kit and apply it to every template. If you use a pin generator like Made to Spark, set your colors and website once and every template picks them up automatically.
Step 3: Fill the template with your photo and title
This is the repetitive part. For each pin:
- Choose the best photo from the post or listing. Close-ups of the finished result perform best.
- Write a title with the keyword people search for, plus the reason to click: "Easy", "15-minute", "on a budget", "for beginners".
- Check the title fits in two or three lines and reads at a glance.
- Export at 1000×1500.
In a design tool, this means duplicating the design, swapping each photo, retyping the title and exporting, for every pin. A template pin generator does it in one step: paste the URL of the post or product and the template is filled with the photos and title from the page.
Step 4: Make several pins for each post or product
Pinterest favors fresh pins, meaning new images, over repinning the same one. So instead of one pin per post, make two or three with different templates and photos, and publish them over a few weeks.
The reason isn't only freshness. Each version can carry a different title, so one recipe post can go after "sheet pan dinners" on one pin and "30-minute weeknight meals" on the next, and sit on a different board for each. One pin can only chase one of those.
Step 5: Write the pin title, description and link
The design gets the click; the text gets the pin found. For every pin add:
- A pin title with your main keyword.
- A description of one to three sentences that uses related search terms naturally. Our Pinterest keyword tool shows what people really type into Pinterest search.
- The link to the exact post or product page.
- Alt text describing the image.
Step 6: Schedule instead of posting everything at once
Spread pins out. Publishing a few pins a day, every day, beats uploading fifty in an afternoon. A Pinterest scheduler lets you batch the work once a week and keep your account active.
How to make your own Pinterest template
If you would rather build one from scratch, start from a proven structure instead of a blank page:
- Create a 1000×1500 canvas.
- Place one large photo area covering at least half the pin.
- Add a solid band or box for the title, in one of your brand colors.
- Pair a bold, readable font for the title with an optional script accent word.
- Put your website in small text at the top or bottom.
- Test it with three very different photos and titles. If any version is hard to read, add more contrast behind the text.
Or skip the setup and browse our Pinterest templates, which are already built around these rules.
Quick checklist
- 3 to 5 templates matched to your content types
- Brand colors and website set once
- Close-up photo, keyword title, 1000×1500
- 2 to 3 different pins per post or product
- Keyword-rich title, description, link and alt text
- Pins scheduled a few per day